Damper Control installation in each room
In Part 1, we covered the integration of an HVAC system to the Miniserver for smarter temperature control. The next step is now damper control, so temperatures and schedules can be set for each room.
Did you miss anything in Part 1?
Let’s start Part 2 with zones. By default, many heating systems work with two zones controlled by two thermostats, one in the upper floor and another in the lower floor of the house.
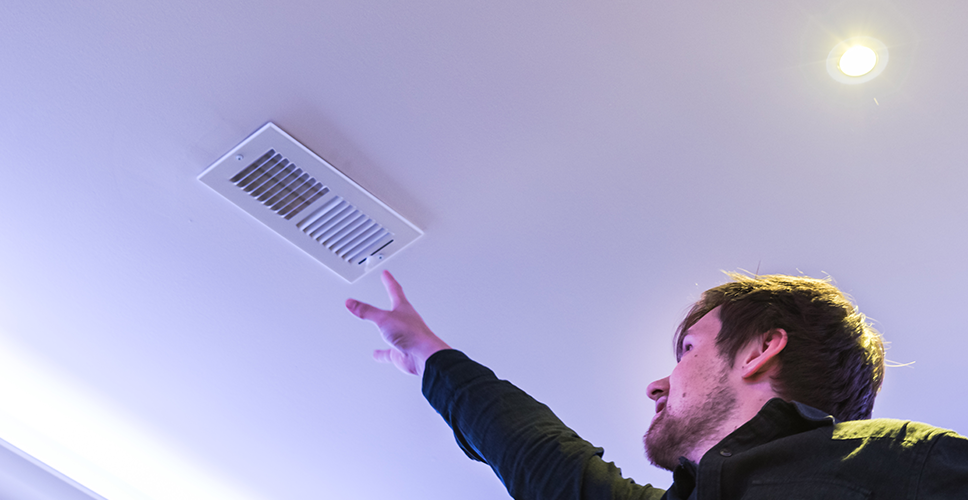
Since heating and cooling are only distributed through the HVAC system, the only way to change the airflow is through the ventilation grills, which might not be very convenient nor smart at all.

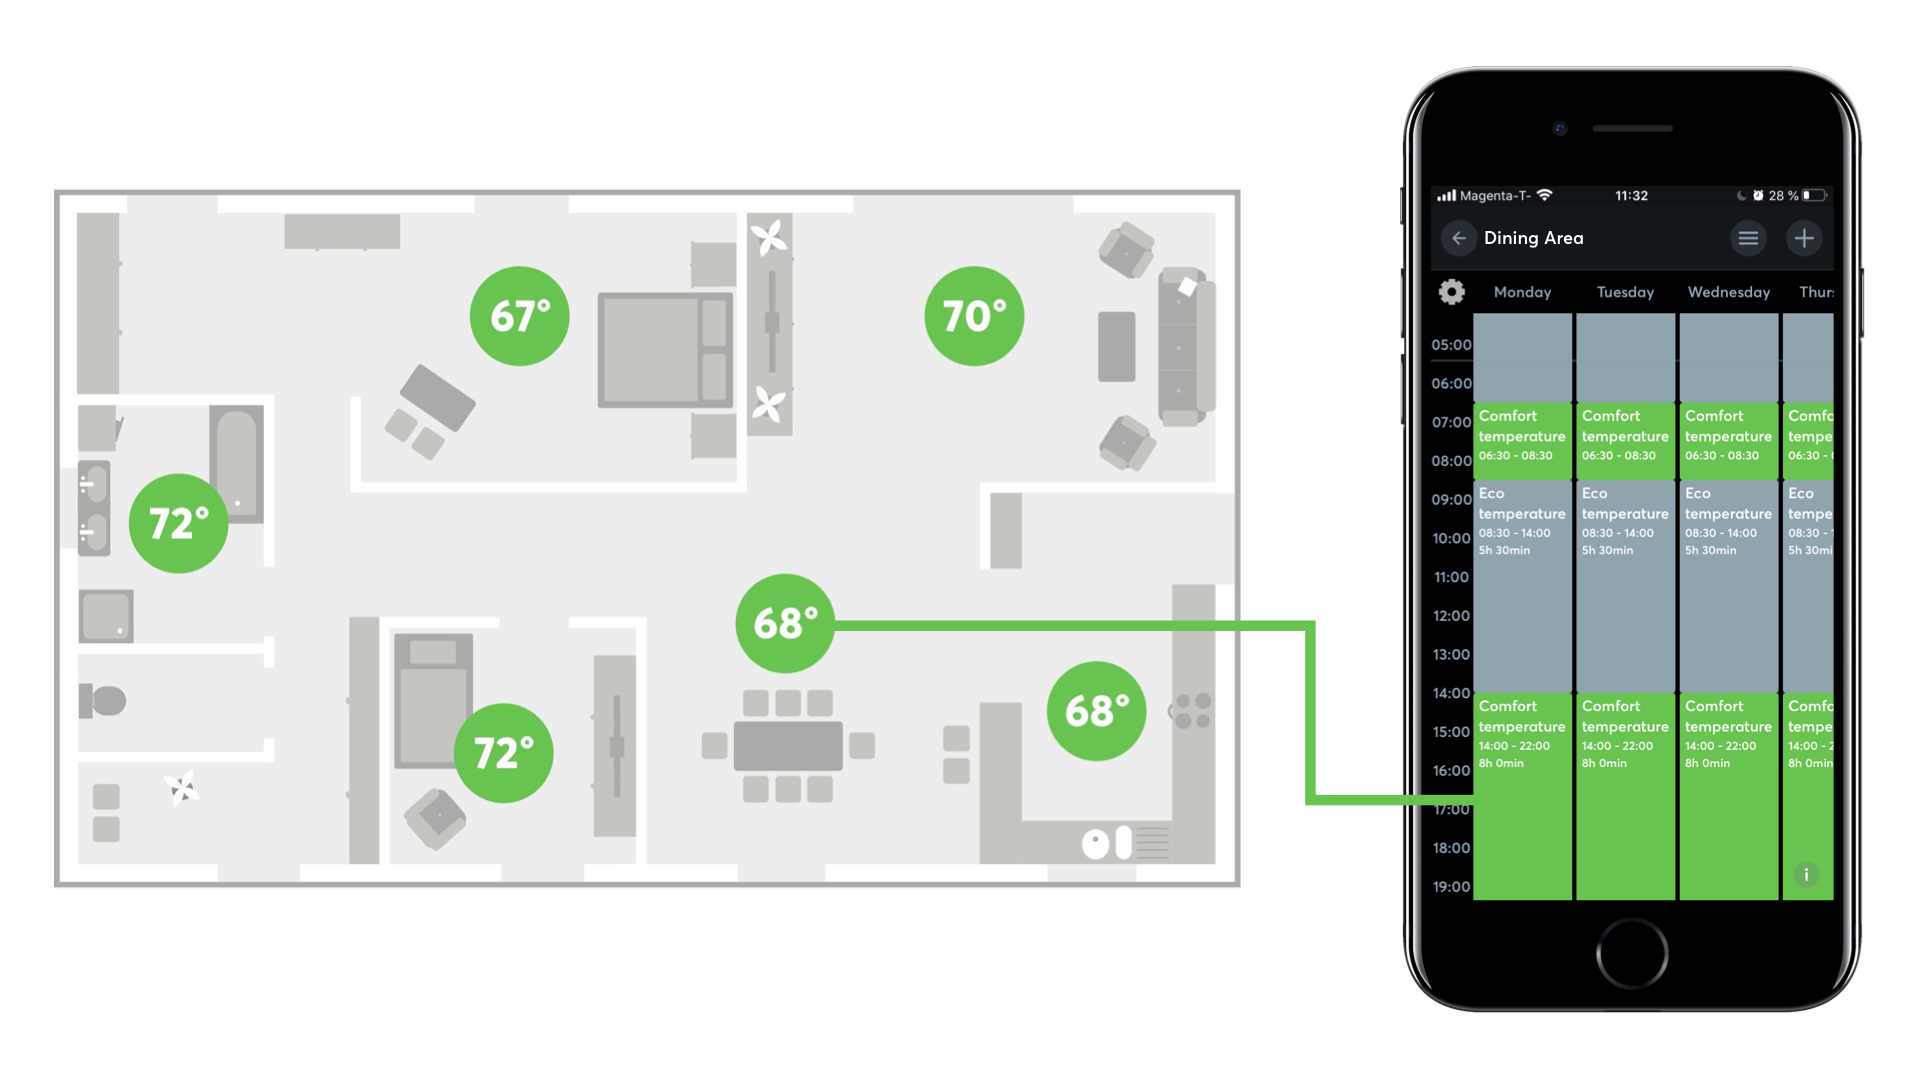
In order to benefit from setting up temperatures and schedules per room, dampers must be installed in all the rooms. Features include:
|
Heat the bathroom in the morning and in the evening, and lower the temperature during the day to save energy. |
|
| Keep the living room cool when the house is empty during the week, and warm in the weekend (as long as the house is not empty). | |
| Keep the bedroom cool to improve sleep quality and save energy. | |
| Turn down the heating automatically when the house is empty, and turn it up again when the house is no longer empty. | |
| Have remote access to the heating system and be able to see temperatures and get notifications if there are any issues (such as temperature drops or HVAC water leaks). | |
Installation of damper control in three steps
An electronic damper simply controls the air flow (and therefore the temperature) by adjusting its position. The installation of a damper control is very simple:

Put the dampers into the duct, usually where the ductwork makes branches to the individual rooms.

Run a wire from each damper to the Miniserver in the distribution to power them and send the control signals.

Read the temperature in every room thanks to the built-in temperature of the Touch used throughout the house. Other products that are equipped with temperature sensors like the Temperature & Humidity Sensor Air can also be used.
Control of heating and cooling with dampers
Loxone Config makes it easy to implement features such as:

Set up individual heating and cooling schedules for each room

Set and change your preferred temperatures

Each room is automatically heated or cooled to the preferred temperature in time

Save energy when nobody is at home

Notify the owner about sudden temperature drops automatically
There is no need to change temperatures back and forth. Once damper control is set up, everything works fully automatically.

Get In Touch
Send us a request for your next project as a professional installer or a home or business owner.
