Good wiring decides whether a Loxone project runs reliably for years or keeps you busy with call-backs. This article covers the basics of planning the wiring and the limits you need to keep in mind.
These are proven recommendations from our Loxone experts. It is not the only way, but it is a safe starting point for your project. This article plans with Loxone products only.
01The right cable
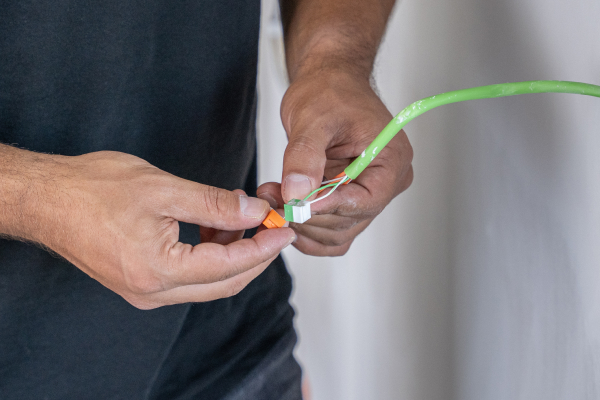
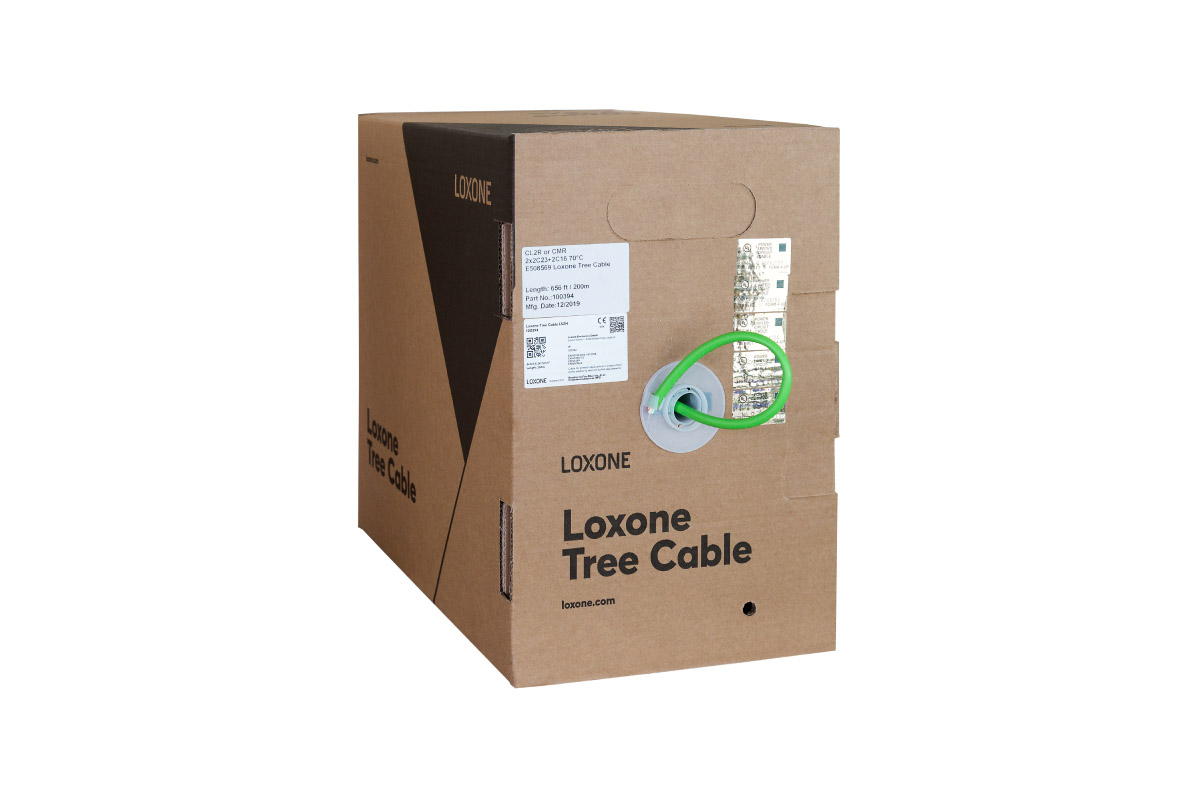
The green Tree Cable is the standard. It connects all Loxone products to the Miniserver. Only a few cases need something different or an additional cable.
| Cable | Used for |
|---|---|
| Tree Cable | The standard for all Loxone products, back to the Miniserver. The Wall Display is also connected with the Tree Cable (to the Tree Turbo interface). |
| Audio Cable | Speakers. Audio has its own dedicated cable. |
| Power cable | In addition to the Tree Cable, for products with higher power requirements, e.g. shading or a wallbox. |
| Network (PoE) | The Intercom. |
02Colour to colour
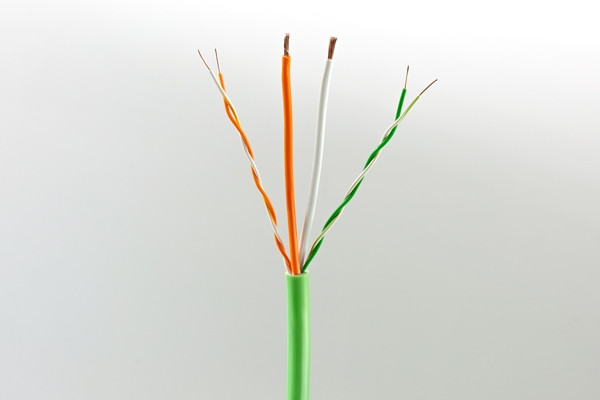
Every Loxone product has coloured terminals. They show exactly where each core goes. Every colour in the Tree Cable is paired with white: two twisted pairs with 0.8 mm (0.5 mm²), green/white for the Tree data line and orange/white for the 24 V supply of push-buttons, sensors and devices with low power consumption. In addition, there are two 1.5 mm² cores in orange and white for devices with higher power consumption, such as LED Spots or dimmers.
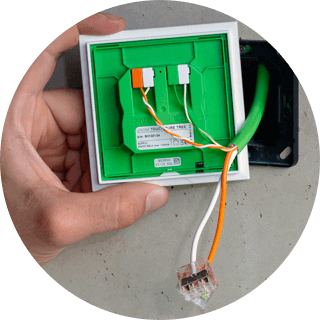
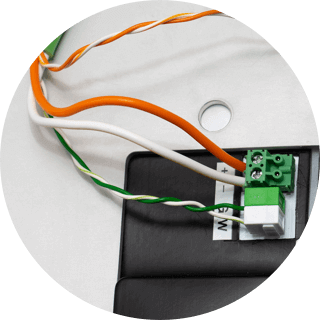
The rule is simple: colour to colour. That also lets you hand the installation over to colleagues or subcontractors.
03One Tree Cable per room
The most important rule of thumb: one Tree Cable per room, back to the distribution board. Every Loxone product in that room connects to that cable.
- Combine small rooms. A WC and a storage room can share one cable.
- Split large rooms. An open-plan living and dining area gets two or more cables.
- Treat the heating distributor as a room of its own, with its own Tree Cable.
- Do not fill to the limit. Customers add products later, so leave a reserve from the start.
The 500 m apply to the data line. For loads with higher power such as Tree lights or Tree dimmers, the achievable length is often much shorter because of voltage drop.
04Audio Cable
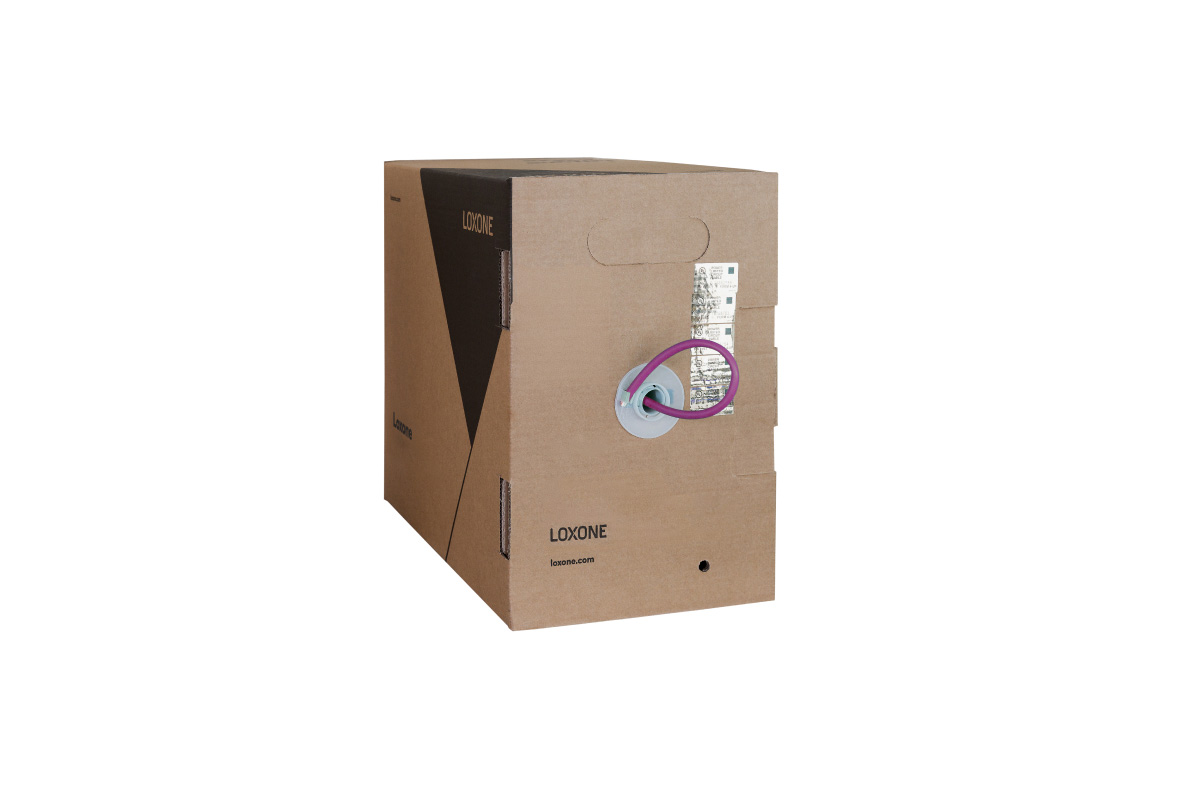
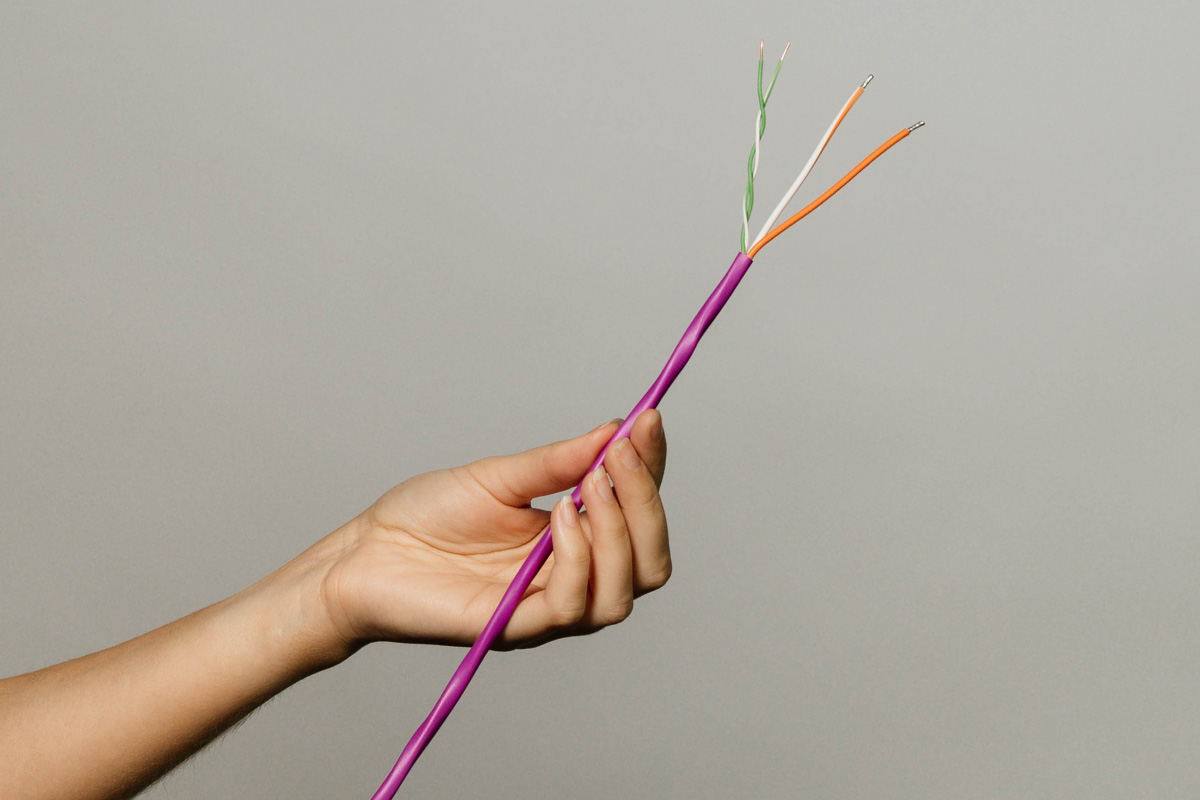
The second cable is the violet Loxone Audio Cable. Here too: one cable per room.
- One Audio Cable per room or audio zone.
- Plan the audio zones first, then the speakers and the cables for them.
- Adapt the Master/Client logic to your customer’s needs: one Master speaker per zone, plus Client speakers where the room size requires it.
More on this: There is separate documentation and dedicated training for audio planning.
05Topology: anything goes, except a ring
Tree gives you complete freedom in routing. You can wire in a line, star, bus with branches or tree, and you can mix them. The only thing you must never do is close a ring: a ring causes communication errors and is one of the most common reasons why Tree devices cannot be found. We recommend the tree topology.
06Example: one floor, step by step
The distribution board with the Miniserver is the starting point for all cables. Larger projects may have several distribution boards or Miniservers; this example has one.
Step 1: Tree Cables
Roughly one Tree Cable per room. Bathroom and WC share one cable, the heating distributor gets its own.
Step 2: Audio zones
One shared audio zone for kitchen and living room, one for bathroom and WC and one for each bedroom. Each zone has one Master speaker (M) and, where the size requires it, additional Client speakers (C).
07Why Loxone cables and products
Staying within the Loxone product universe, including the Loxone Tree and Audio Cables, is the safest and easiest way to a smart home.
- Less cabling effort. One cable per room instead of one per device.
- Flexible routing. Wired correctly, the project is easy to adapt to new requirements later, even after years.
- Easy installation. The colour logic is easy to follow and helps you hand tasks over to colleagues or subcontractors.
08The cables in the Loxone Shop
Before installationChecklist
- ☐ Is the right cable planned for every product?
- ☐ Is there no ring anywhere in the Tree?
- ☐ Is the common ground (GND) connected? With several power supplies, all GNDs must be connected together.
- ☐ Are you within the cable limits, is voltage drop taken into account and is there a reserve for later extensions?
- ☐ Is a backup power supply planned?
- ☐ Are different voltages properly separated?
A few minutes here save hours later, because most “software problems” turn out to be wiring problems. Plan it right, and Loxone is installed faster than you are used to.
Recent Comments