OVERVIEW
Once you have setup your DALI Extension, ensured that it is online and communicating with the Miniserver, you can then setup the DALI BUS. The DALI BUS is the length of cable, all of your DALI devices are connected to. This needs to be 100% bulletproof and triple checked for if there are any impurities with the DALI BUS, then you may encounter issues along the way.
Once your DALI extension and DALI BUS are online and sound, you can begin the device learn in procedure so that you can then start adding your DALI devices to your config file and then provide DALI Control.
LEARNING IN A DALI DEVICE
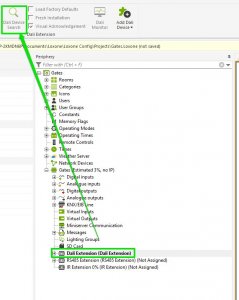
Select the DALI extension in the periphery tree and click the ‘DALI search’ button.
Additional functions in the search of DALI devices (tick boxes to the right of the search button. Please also note that these are greyed out due to the fact that I do not have a DALI Extension learned into this Miniserver):
- “Load factory settings” – The DALI devices in the search are reset to the factory settings.
- “Complete new installation” – All DALI devices are in finding new Addresses If the DALI device already has an available address, it will be deleted. All addresses will be deleted and reassigned.
- “Visual confirmation” – DALI device light up when they were found. If connecting to an existing DALI installation, all devices and settings will also be found on the DALI search.
If a DALI installation is extended by a DALI device all currently used addresses will be taken into consideration when providing the new DALI device with an address. This is to prevent any address conflicts.
In a new DALI installation use the search option: “Complete new installation” so that DALI devices are assigned an address. If an address conflict is found between two or more DALI devices “complete reinstallation” should be executed. The DALI addresses are reassigned.
Highlight the device and enter a name, then oh click on “Create device”, as with any learn in procedure.
POST-LEARN IN PROCEDURE
Once you have learned in a DALI device, you will be given 2 items in the periphery tree. One is the light actuator itself, the other is an error input.
The light actuator is used as a standard output for a lighting controller whereas the error input is an input that can be used to diagnose any errors with the DALI devices. Each DALI device will output an error if they find something wrong with themselves and so this input would then trigger if the device is emitting an error.
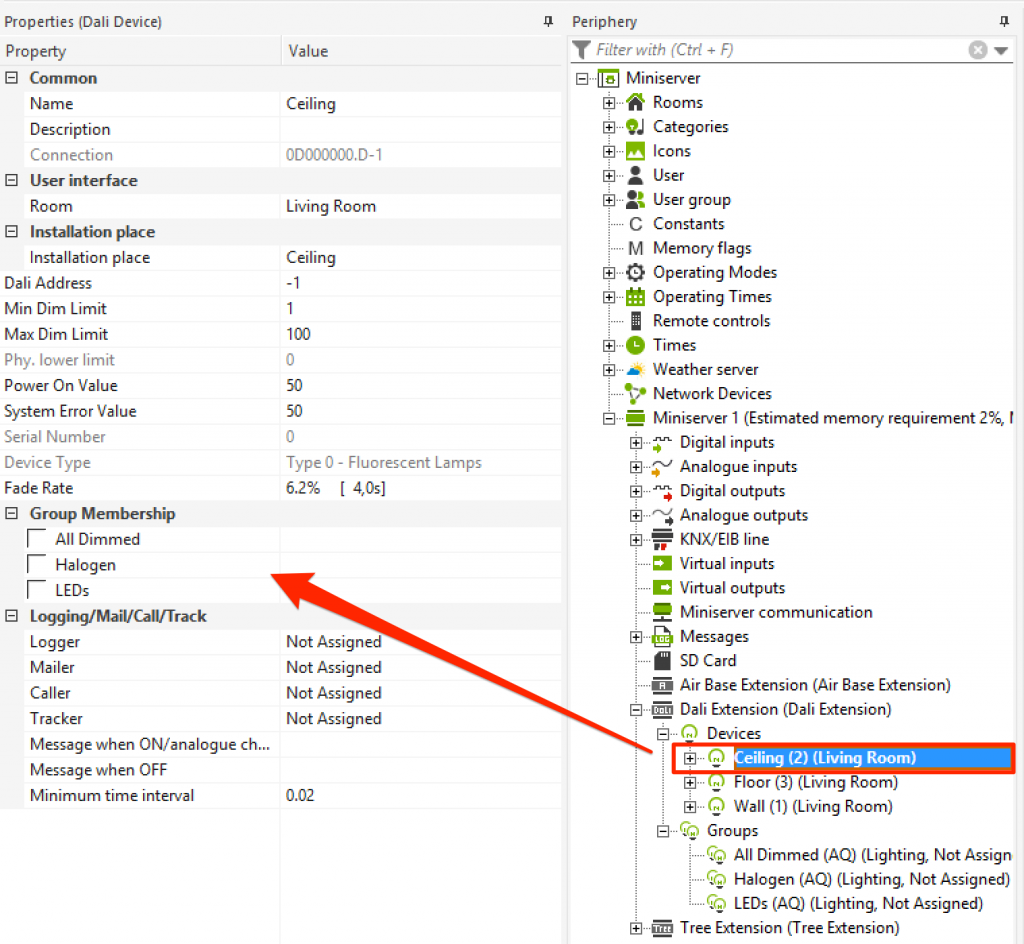
In the properties of the DALI device you can adjust the following settings:
- “Min / Max limits of the DALI device” In the DALI search, the minimum and maximum limits of the DALI devices are detected. These values indicate the minimum and maximum dimming of DALI devices. You can adjust the limits manually
- “Power On value“ When the lights are powered, the lights will come on at this level. Can be set to retain last state & it also must be greater than the minimum values and less than
- “System error value” When an error is detected, the lights will come on at this level. This value must be greater than the minimum limit and less than the maximum limit.
- “Fade Rate” Rate in which the lights dim in % per second.
Be sure to “Save In Miniserver” so changes are saved in the DALI devices.
CREATE DALI GROUPS
Using DALI groups will allow control of multiple devices in parallel. This can be used for controlling an entire room over each individual light. It makes config look neater, and allows you to keep track of specific lights easier (by determining which group they are in).
When programming the DALI devices existing group assignments will automatically create groups.
To create a new group you must first learn in the new DALI devices.
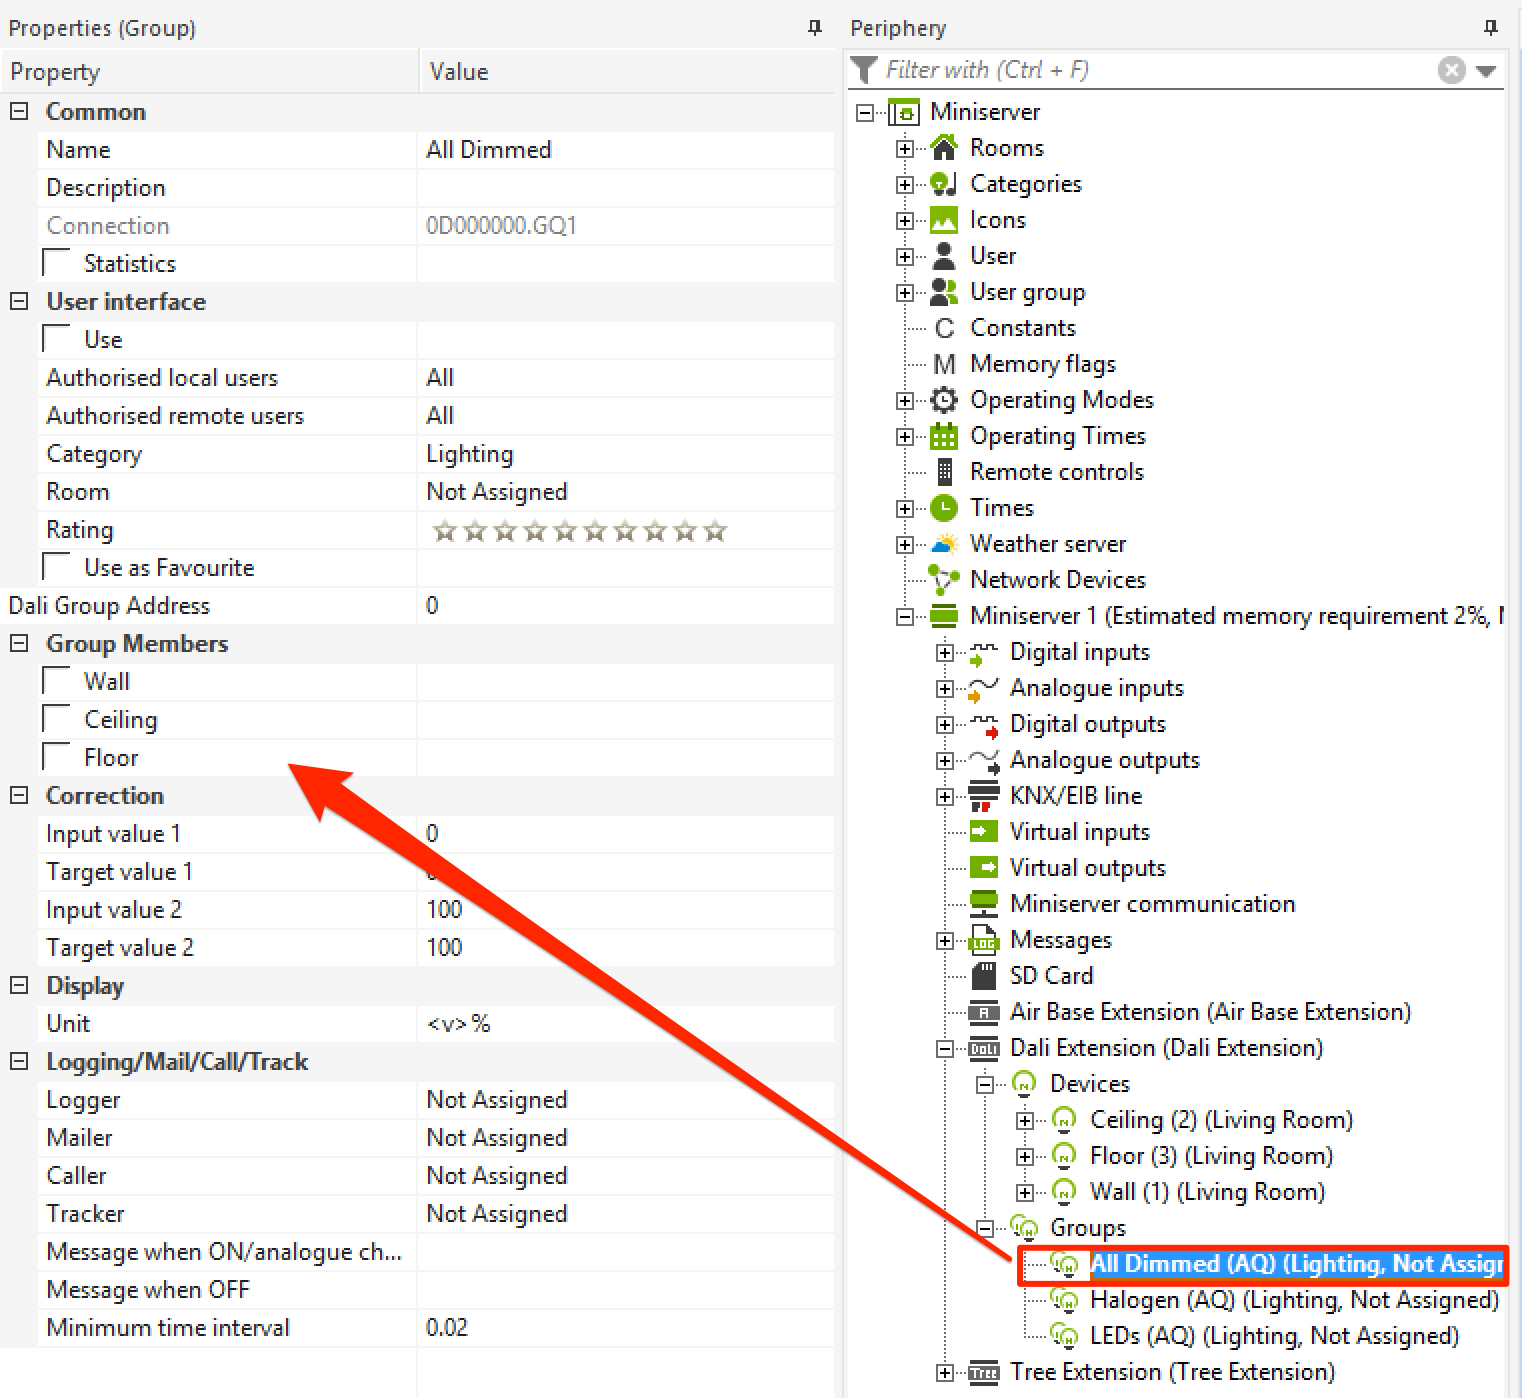
In the properties of the group you can select all learned DALI devices OR select the groups from the DALI device itself:
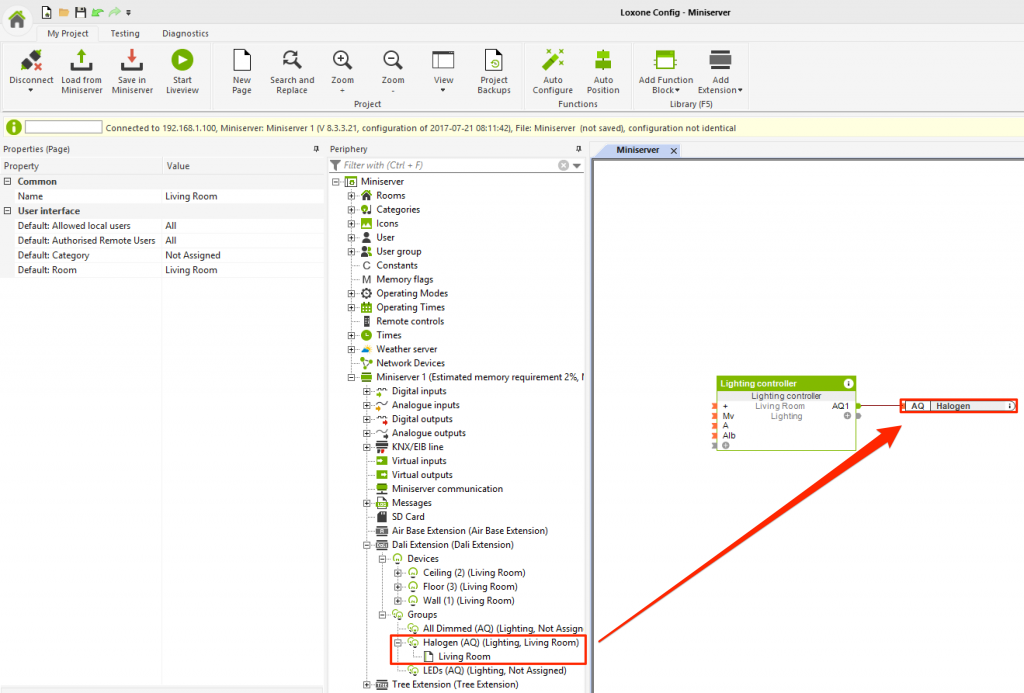
The group actuator can now be used in programming – this will provide control over all the actuators
![]() If several DALI luminaires are controlled at the same time, a DALI group is recommended. This offers the advantage that the programming is clearer and there is no time delay when dimming the lights.
If several DALI luminaires are controlled at the same time, a DALI group is recommended. This offers the advantage that the programming is clearer and there is no time delay when dimming the lights.
DALI MONITOR
With the DALI monitor, you can trace the communication between the DALI devices and the DALI extension. To activate the monitor, click the checkbox “Launch DALI monitor and display”
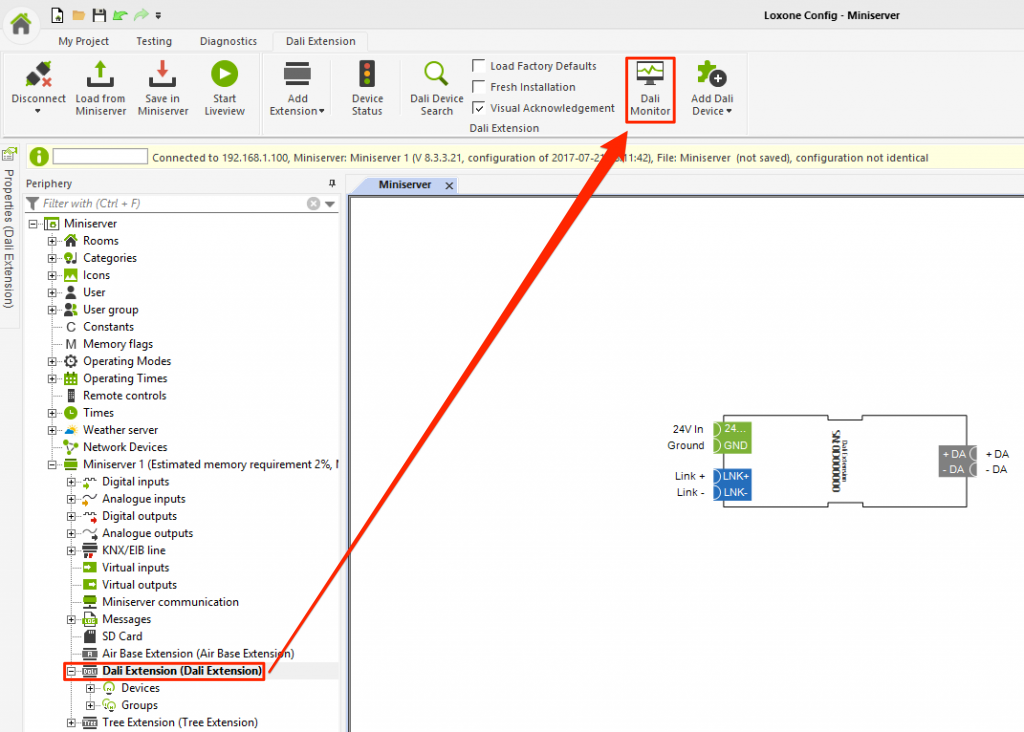
Once this has been turned on, a DALI monitor will appear and you can see what is being sent to each DALI device, and also the values being sent out (DALI utilises 8-bit communication so 255 is the maximum – 100% brightness)