Tips for perfect lighting design
Few things have the power to transform the look and feel of space as much as lighting does. An appealing lighting design is crucial to creating an exceptional atmosphere with the power to enhance any building. In this blog, you will find a few important guidelines for impressive lighting design.
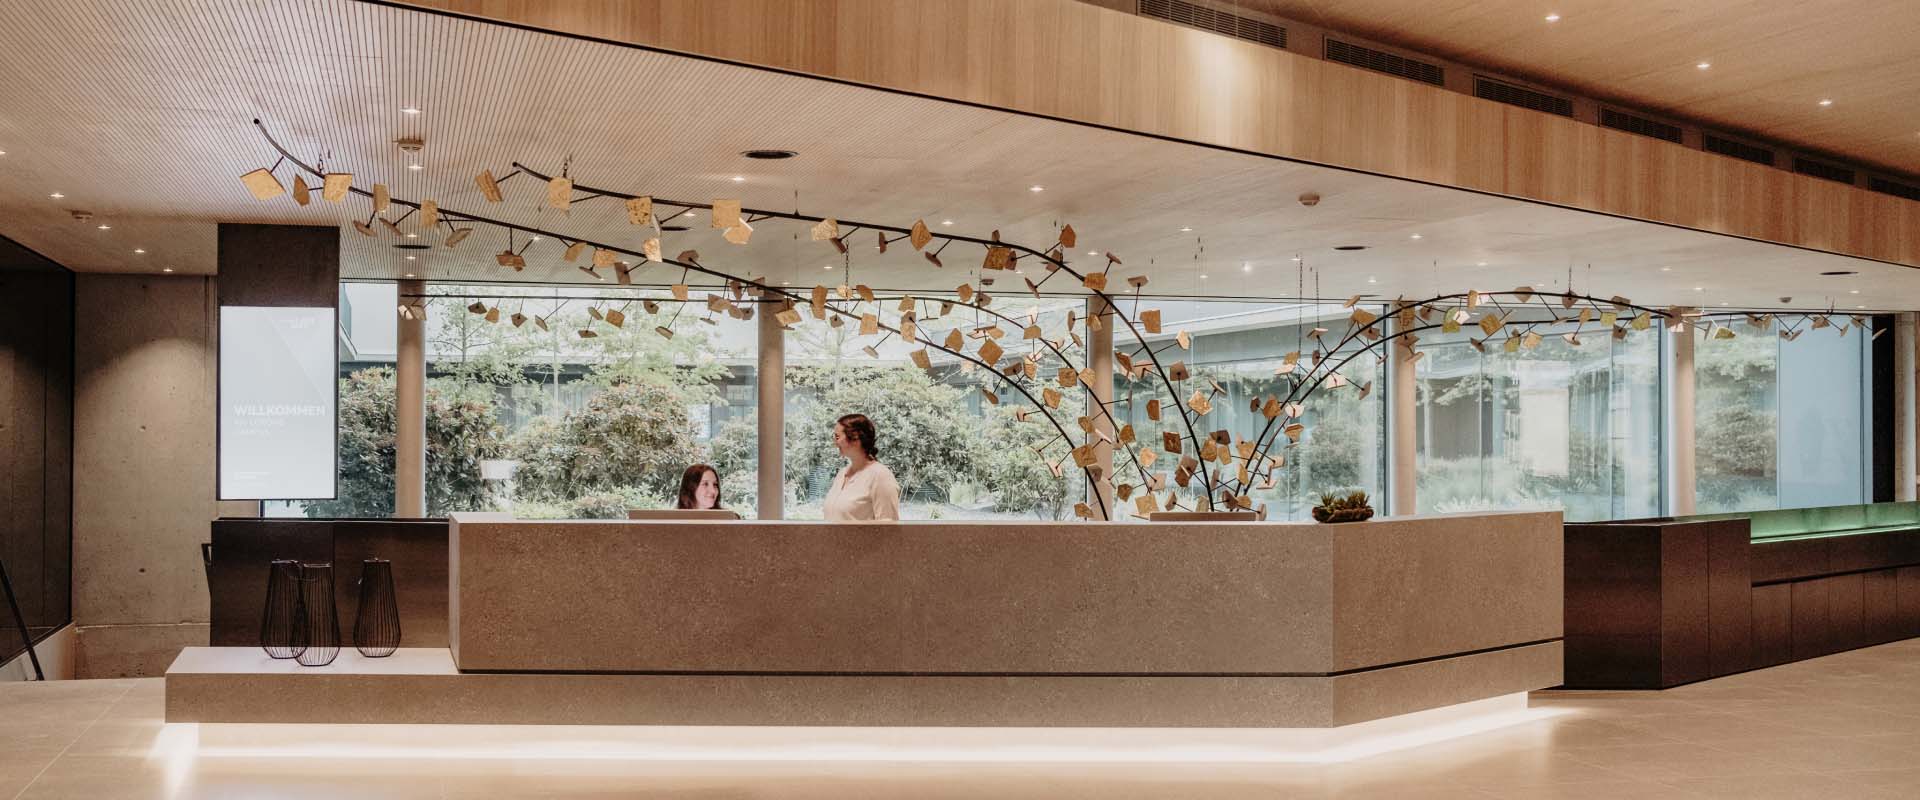
How to showcase every building in the right light
Lighting is one of the decisive factors when it comes to the feel-good factor, lifestyle and productivity in all your rooms! The one overarching basic rule of thumb that you should follow when planning your lighting: is to use three different light sources – as it creates contrasts and atmospheric ambience in a space.

Task & ambient lighting
For perfect task and ambient lighting, we recommend using light sources that can be varied in brightness and offer smooth, continuous dimming. Particularly suitable here are LED Spots or the LED Ceiling Light.
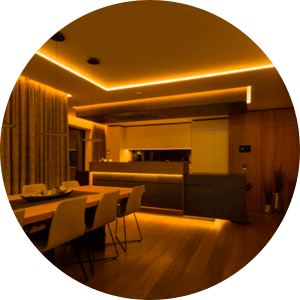
Indirect lighting
Backlighting is when a light source indirectly illuminates the room. An elegant solution for this is LED Strips, which can be installed behind furniture or in a suspended ceiling to add an impressive wow factor to the space.
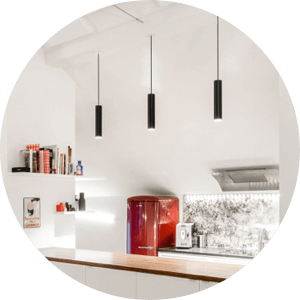
Accent lighting
To round off your lighting design, we recommend using luminaires that stand out, such as the Pendulum Slim. The pendant luminaires act as specific accent lights, creating so-called islands of light and direct the eye to certain areas – at the same time, they also have a sleek stylish design.
Lighting design made easy
With most lighting designs, the first question is: how far apart should I place the LED spotlights in the ceiling? To determine the optimum distance of ceiling spots, the rooms height must first be taken into account. With a standard ceiling height of 2.6m, we recommend around 2 Loxone LED spots per 5 square metres. This ensures uniform and sufficient illumination of the entire space.
Tip for using built-in presence sensors
The correct spacing of LED spotlights and presence sensors plays a decisive role in the aesthetic appearance of the room. We recommend placing the Presence Sensor in the centre between two LED spots and plan the LED spots in the usual grid (such as the image to the right). We advise against omitting an LED spot in favour of a presence sensor, for example, as this could give the impression that an LED spot is defective or that the lighting line is uneven.

To create a detailed lighting design for your building, we recommend using DIALux, a great lighting design software. In which you can plan, calculate and visualise your lighting with the actual luminaires from Loxone, you are planning to use. The software does require the EULUM data for the luminaires you are planning to use, which you can download from the Loxone webshop page for the respective lighting products.
Impressive residential and commercial lighting


The most important terms for lighting design
Illuminance (lux)
Illuminance lux is used to measure how much light from the light source reaches a specific point.
Luminous flux (lumen)
Luminous flux means how brightly the light source shines. What the number of watts used to be for light bulbs is now the lumen value.
Dimmability
Dimmed light makes the room more cosy, is easier on the eyes and helps you save energy. Make sure that your light source is dimmable; you will find this information on the packaging.
Colour Temperature (Kelvin)
The light colour provides information about the colour temperature. Colour temperatures up to 3,300K are regarded as warm white, from 3,300K to 5,300 K as neutral white and from 5,300K as daylight white.
Colour rendering (Ra)
The colour rendering index indicates how naturally colours are reproduced. The higher this value, the more natural the colours are. For indoor lighting, we recommend light sources with a colour rendering index of at least 80 Ra.
Beam angle
The beam angle determines which area is illuminated. For warm white light, for example, a beam angle of approx 35° is sufficient. For coloured light, we recommend a beam angle of at least 100°, as the light interlocks and coloured light can be better reproduced.
Energy label
The energy label helps you to assess the energy consumption of the light source. We recommend at least level D (new label). The current scale of energy efficiency classes goes in 7 steps from A to G.
Simple operation of your lighting

Fewer buttons, more clarity
Loxone automatically adjusts and changes lighting as planned to do so but should you want to intervene manually you can at any time through a switch. However, despite the wide range of options for switches they can be over complicated with a bank of buttons to control the different lighting circuits… but we believe operation should be as simple as possible allowing anyone to work the switch. For this reason, we have developed the Loxone Switch Standard (depicted in the diagram).

One App for everything
With the free Loxone App the entire functionality of the building is in your hands. Control your lighting at any time from anywhere. Easily adjust lighting scenes, brightness or lighting colours with just a few clicks.
Interested in Loxone?
Whether you want Loxone installed or you want to start offering your customers Loxone, speak to us about making that happen.